Picturesque Perfect?

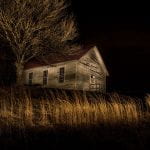
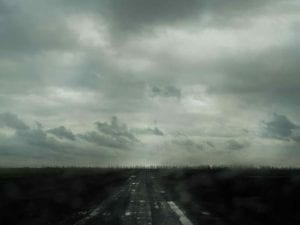
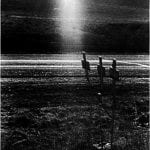
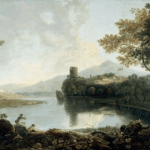
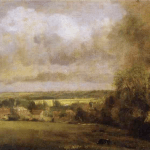
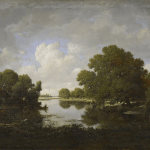
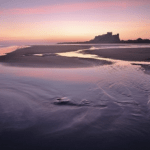
a MYTHOlogical Arcadia (or not?)

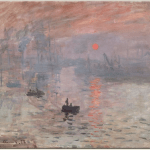
‘Does landscape photography remain encoded within the language of academic painting and the traditions of landscape art which developed during the 18th and 19th Centuries’? (Clarke, 1997, p.55)
Karen Knorr (1986) Pleasures of the Imagination: Connoisseurs

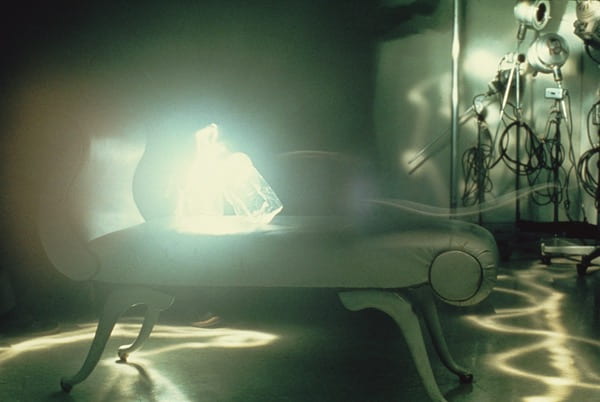
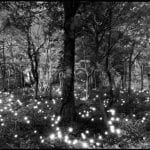
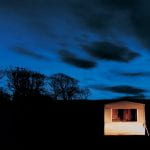
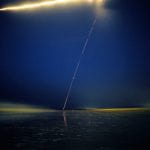
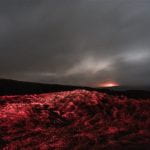
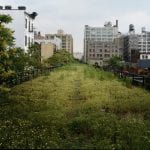
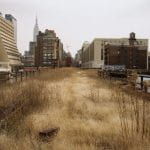
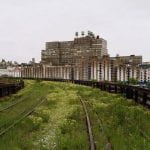
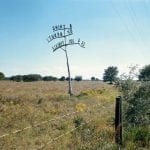
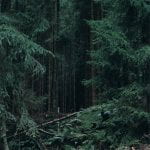
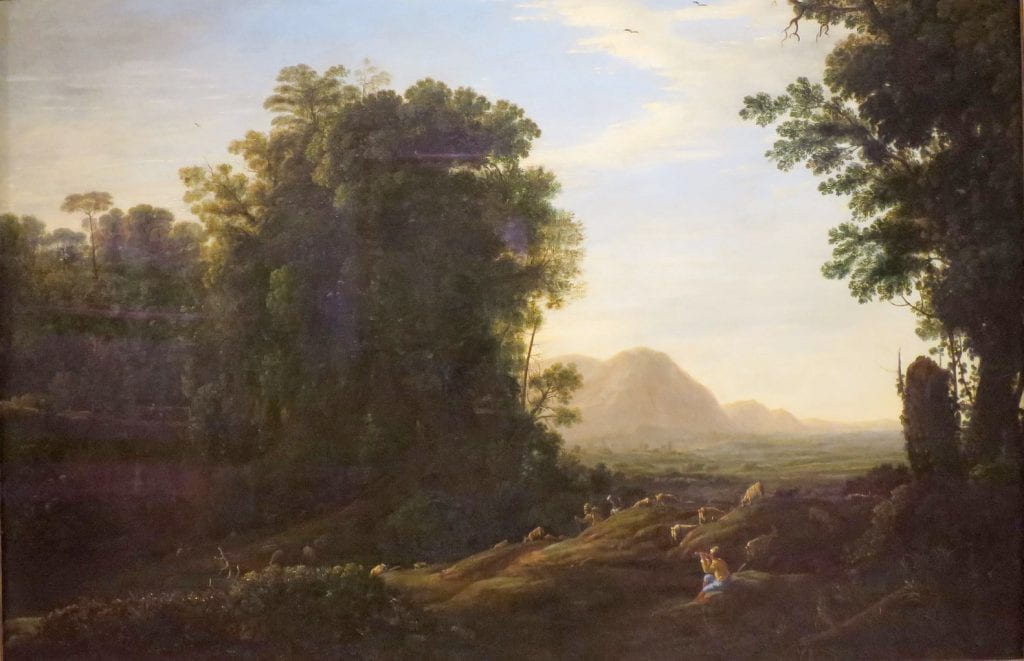
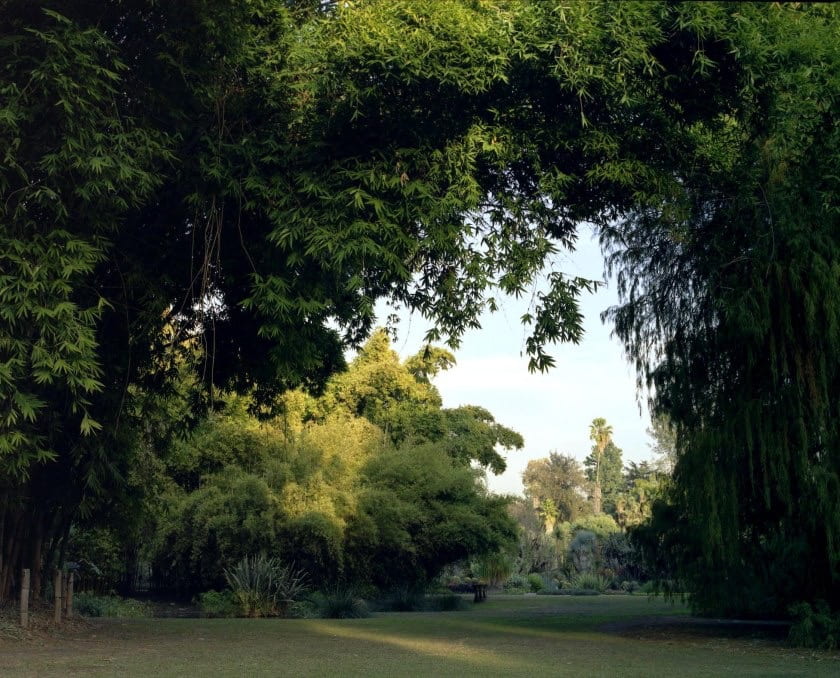
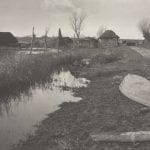
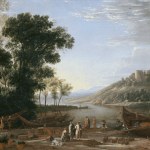
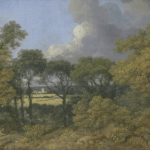
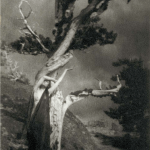
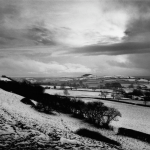
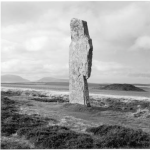
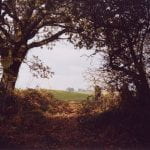
In this session, participants are encouraged to consider a historical relationship between painting and photography in the context of thier own landscape environment. They will consider ideas of the Picturesque and considerations are made as to how such visual mofifs may be culturally / visually reproduced to create a myth of the constructed land as a rural arcadia – as it is transformed into a land-scape.

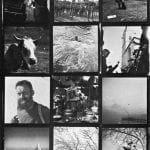
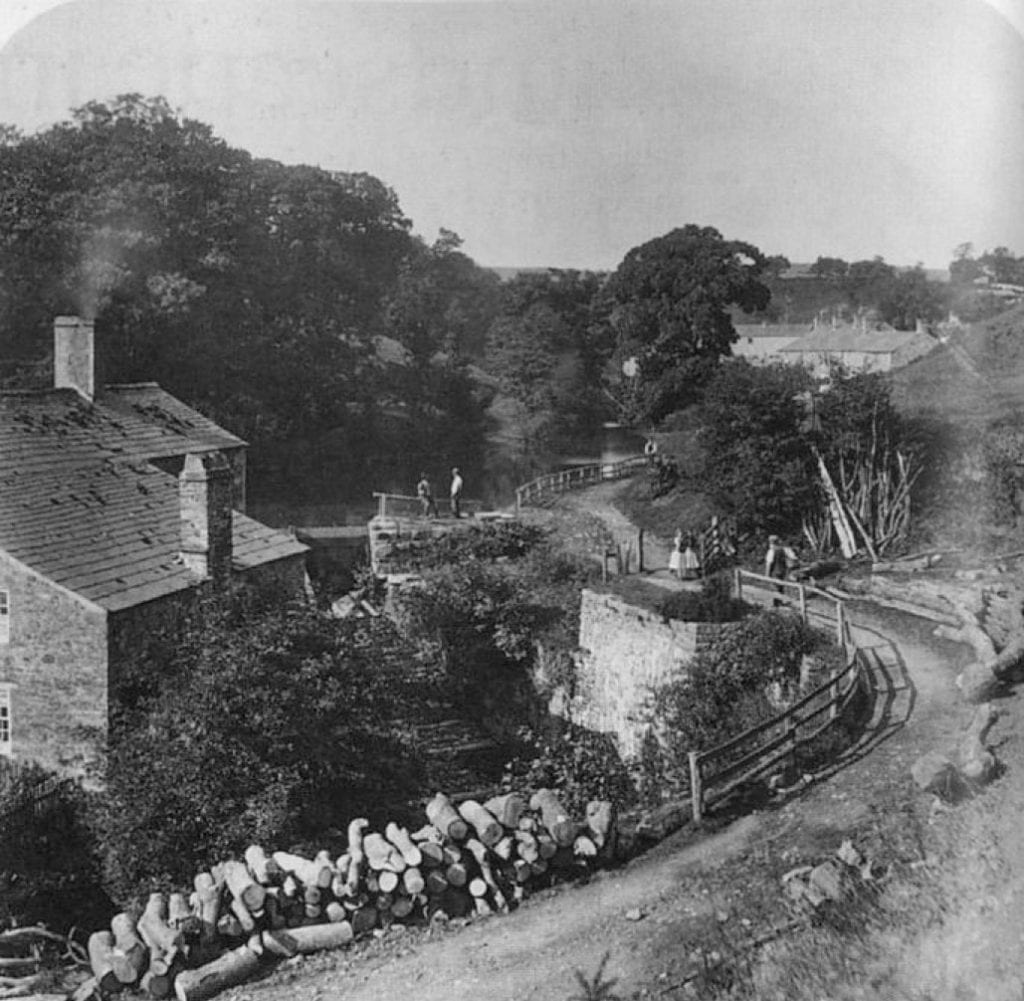
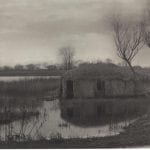
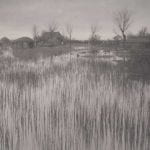
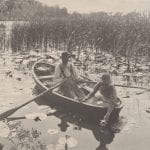
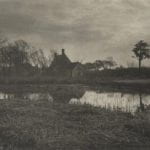
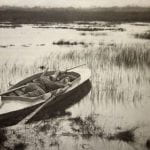
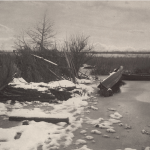
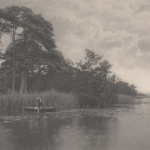
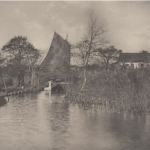
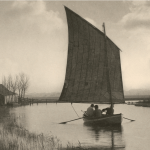
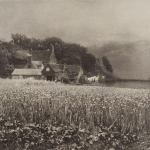
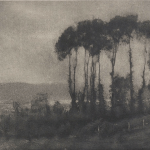
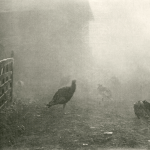
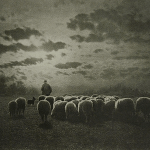
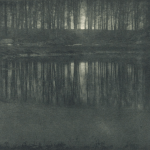
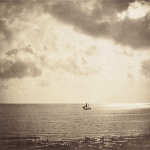
Participants are encouraged to independently research the Pictorialist movement in photography and the work of Peter Henry Emerson

‘A ‘landscape’, whether cultivated or wild, is already artifice before it becomes the subject of a work of art. Even when we simply look, we are already shaping and interpreting…Landscape pictures will breed landscape pictures.’ (Andrews, 1999, p.1)
Claude Lorrain (1629-1632) Landscape with a Piping Shepherd

This Session could be run in conjunction with:

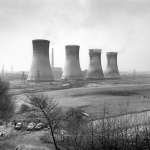
‘Whether noble, picturesque, sublime or mundane, the landscape image bears the imprint of its cultural pedigree. It is a selected and constructed text’ (Bright, 1985)
Roger Fenton (1859) Mill at Hurst Green

Aims & Outcomes:

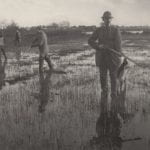
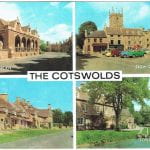
  • To consider vernacular / stereotypical representations of the local environment / landscape
  • To investigate the relationship between painting and photography as it applies to representations of the land
  • To understand the nature of the picturesque as it applies to photographs of the land / a ‘tamed’ land
  • Participant Outcome: 1 10×8 digital print
Ingrid Pollard (1988) from Pastoral Interludes
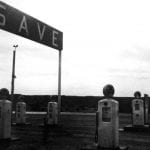
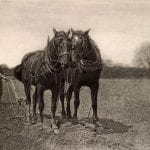
‘The picturesque is enlisted in the definition of what the country means: it becomes a patriotic term, a touchstone of national characteristics’ (Taylor, 1994, p.25)

You will need:

  • Digital cameras for all participants (and appropriate memory cards) *This session can also be run using Camera phones or Lumix cameras
  • Card readers
  • Access to computers (or laptops)
  • Tripods
  • Flashguns if you plan to practice lighting techniques
  • An Introductory Brief & Presentation (below) for participants to outline the ideas and provide examples
  • A booked room to critique participants work (either via a projector or via print)
  • Blue tack to pin the work
  • Costings and Risk Assessments
Uta Kogelsberger (2007) from Picturing Paradise
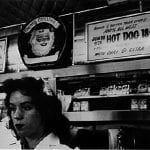
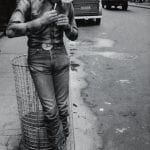
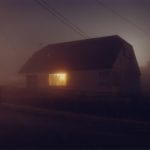
‘The act of naming is an act of taming. From its inception photography has been involved in investigating and detailing environments, helping culture to appropriate nature’ (Wells, 2011, p.3)

Research: Pictorialism & work of Peter Henry Emerson

Preparation Work:

  • Ask participants to read Fergus Heron (2018) ‘Built Worlds: Photography, Landscape &. Different Natures’ from Photography & Landscape / The Photographers Gallery available here
  • Ask participants to watch Jem Southam in Conversation (2014) from the onLandscape Conference / Green Room available here
  • Ask participants if they have thier own digital cameras and cards
  • Make sure you have access to computers / image editing software
  • Make sure there are enough team members to support participants (never assume thier prior knowledge)
  • Decide whether you will project the work or print it.
  • If you are printing it make sure the Photo Lab are aware and be aware of timekeeping so they have space to print the work.
  • *If you are running this session off campus, make sure there is access to printers or projectors
Takashi Yasumura (2003) from Nature Tracing
‘It is no longer a question of imitation, nor duplication, nor even parody. It is a question of substituting the signs of the real for the real’ (Baudrillard, 1994, p.2)

Presentation Ideas: A mythologicAL Arcadia (or not?)

suggested Session Outline:


Photo + Graphy = Light + Writing

/fəʊtəˌGrɑːf/: drawing with light

Sir John Herschel phrased the term ‘photo-graphy’ in 1839 in his Royal Society paper on photography (1839),  it is based on the Greek φῶς (phos), meaning ‘light’ and γραφή (graphê), meaning ‘drawing / writing’ – together meaning ‘drawing with light’ (in Schaaf, 2013)
Pablo Picasso / Gjon Mili (1949) from Light Drawings


In this session participants will produce images using light painting techniques / artifical light sources in order to explore the idea of the constructed image, the dependence of the photographic process on light and time, as well as further consolidating learning of photographic exposure / shutter speeds and the representation of time and motion


‘if I should ever seriously photograph, it would be…the flux of things. I wanted then, and still do, to express the ‘thing’ as part of total flow’ (Morgan in Morgan & margolis, 1980)

This Session could be run in conjunction with:

Barbara Morgan (1940) Pure Energy and Neurotic Man

Aims & Outcomes:

  • For participants to visually explore the nature of photographic seeing and constructing images using light
  • For participants to understand how exposure and shutter speeds can influence the image
  • Participant Take Away Outcome: At least 3 different light writing photographs
Matthew Murray (2012-2018) from Saddleworth

You will need:

  • Digital Camera with a manual exposure setting
  • Tripods
  • A darkened room / studio or shoot outside at dusk / night
  • A selection of movable light sources (e.g. torches, phones, glo-sticks, maglights, fairy lights, flashguns, bicycle lights etc) *if you are outside, car headlights can also illuminate a space
  • Shutter release (for self portraits etc)
  • Card readers
  • Access to computers (or laptops)
  • An introductory brief & Presentation (below) for participants to outline the ideas and provide examples
  • A booked room to critique participants work (either via a projector or via print)
  • Blue tack to pin the work
  • Costings and Risk Assessment
Man Ray (1935) Self Portrait from Space Writing


While the signature was of course apparent to [Man Ray], the photograph remained for many years an “abstract image” to others. The discovery of this inscription is both a revelation and a resolution. Now, seven decades after he made his own game of Hide-and-Seek, we can finally look back at Man Ray and say: “There you are!” (Carey, 2011)

preparation Work:

  • Plan at least 5 different approaches to drawing with light and make sure you have all materials. Think about;
    • Light Drawing: The light source can be seen by the camera, during a long exposure the artist uses this light source to draw, write or create a design within the frame
    • Kinetic Light Painting; The lights in the scene generally remain stationary while the camera itself is moved about during a long exposure to create color and design within the frame.
    • Light Painting; The artist uses handheld light sources to selectively illuminate parts of a scene during a long exposure photograph.
  • Ask participants to read A History of Light Painting Photography available here
  • Ask participants to think of and draw out some initial ideas for constructing images using light. There are a number of introductory videos to be found online but a good example for beginners is here
  • Ask participants if they have thier own digital cameras and cards
  • Make sure you have access to computers
  • Make sure there are enough team members to support participants (never assume thier prior knowledge)
  • Decide whether you will project the work or print it.
  • If you are printing it (6×4) make sure the Photo Lab are aware and be aware of timekeeping so they have space in the session to print the work.
  • *If you are running this session off campus, make sure there is access to a darkened room, printers or projectors
Dean Chamberlain (1977) Two Polyesthene Bags and a Chaiselonge
‘The viewer is instantly confronted with how frequently we take for granted the light in our everyday lives, not to mention its role in traditional photography. After all, how else would one make a photograph without at least a minimal amount of available light in the environment? One look at [Chamberlains] works and it becomes clear–there are other ways. While Chamberlain paints with light through time and space, the light itself becomes the primary subject matter, shifting the focus from the subject/object to the very element through which the work (and our lives) are revealed’ (Meta Gallery, Toronto, 2008)

presentation ideas: drawing with light

‘Light used in its own right, as in light pictures, gives to photography the wonderful plasticity that paint gives to painting without loss of the unmatched reality of straight photography’ Wynn Bullock (in bullock Family 2019)

lightwriting: activity ideas

You might:
  • Draw a picture
  • Outline a person / object
  • Spin some fairy lights to create an orb
  • Do a double exposure
  • Use flash / torches to light certain aspects of an internal / external scene
  • Write a message / your name
  • Use glo-sticks to create abstractions
  • Use movement (either object or camera) to create abstractions

Suggested Session Outline:


A Walk on The Wild Side

(timed) Travels with a Camera

‘We cannot claim to have really seen anything before having photographed it’ (Zola in Sontag, 1977, p.87)
Todd Hido (2016) from Bright Black World

This session encourages participants to ‘notice’ the world around them, as well as ‘seeing’ it in individual / subjective and  photographic terms. Through a single walk / trip (with timed alarms for photographing) it encourages participants to notice the world around them, explore the role of aesthetics, framing, vantage point and depth of field, and investigate the idea of a more subjective ‘photographic’ voice as the ‘group’ walk / experience of the world is transformed / constructed into an individual and subjective vision.

Photographs substitute for direct encounter; they act as surrogates, mediating that which was seen through the camera viewfinder’ (Wells, 2011, p.6)

This session could be run in conjuction with:

Hamish Fulton (1985) Wind through the Pines

Aims & Outcomes:

  • For participants to notice the world around them in a subjective manner and explore the nature of a ‘photographic’ way of seeing and framing the world. Are you merely photographing? Are you constructing? Are captions / text important?
  • For participants to consider the ‘intent’ of thier work: What are you ‘saying’ about the world around you?
  • For participants to conduct in depth research on the work of Robert Frank and apply these ideas to thier practice
  • Participant Outcome: 5 6×4 digital prints

Research: The Work of Robert Frank

‘Robert Frank…he sucked a sad poem right out of America onto film, taking rank among the tragic poets of the world’ (Jack Kerouac in Petrusich, 2019)
‘Seeing THE AMERICANS in a college bookshop was a stunning, ground-trembling experience for me. But I realized this man’s achievement could not be mined or imitated in any way, because he had already done it, sewn it up and gone home. What I was left with was the vapors of his talent. I had to make my own kind of art’ (Ed Ruscha in Casper, 2019)

You will need:

  • A planned / dedicated walk of a local area (with printed maps)
  • A planned study visit / school trip to a designated location (with printed maps)
  • Timers (egg timers or phone alarms will suffice) for timing of when participants will make thier photographs on the ‘walk’
  • You need to decide whether participants will photograph all at the same time / in small groups / individually
  • Digital cameras for all participants (and appropriate memory cards) *This session can also be run using analogue cameras, Camera phones, Lumix cameras
  • Card readers
  • Access to computers (or laptops)
  • An introductory brief & Presentation (below) for participants to outline the ideas and provide examples
  • A booked room to critique participants work (either via a projector or via print)
  • Blue tack to pin the work
  • Costings and Risk Assessment
Uta Kögelsberger (2007) from Getting Lost

Preparation Work:

  • To design your walk / trip and provide maps. Walk the area yourself in preparation and note the times / any interesting features
  • Create a Google Map of your walk.
  • To identify alarm timings for participants taking photographs (either all together / in small groups / on thier own)
  • Ask participants to read Jelani Cobb (2019) ‘How Robert Frank’s Photographs Helped Define America’ in The New York Times (11th September 2019) available here
  • Ask participants to investigate the nature of the ‘road trip’ and watch the Aperture Foundation video The Open Road: Photography and the American Road Trip (2014) available here
  • Ask participants to independently research the work of Robert Frank
  • Ask participants if they have thier own digital cameras and cards
  • Make sure you have access to computers
  • Make sure there are enough team members to support participants (never assume thier prior knowledge)
  • Decide whether you will project the work or print it.
  • If you are printing it (6×4) make sure the Photo Lab are aware and be aware of timekeeping so they have space to print the work.
  • *If you are running this session off campus, make sure there is access to printers or projectors

Presentation Ideas: Travels with a Camera

Suggested Session Outline:

  • Introduce the session / walk and the importance of really looking at the world around them, considering what they are trying to say about the object / scene / person etc and consider scale, composition, angle, vantage point, depth of field, etc
  • Give the presentation Travels with a Camera (or devise your own) to introduce particpants to the idea of photographing on a journey etc.
  • Ask participants to set thier alarms to go off every 5 minutes (if you want them all to photograph from the same point) / provide individual times (if you want them to photograph at different times along the walk)
  • Walk / photograph – give examples of what you might do and again remind participants of visual variety / typology etc.
  • Make a note of location on the map every time you photograph. You might use Google Maps here
  • Upload / edit / print photographs
  • Project the Google Map on the wall (large) and pin up / scan and insert the photographs at the locaitons in with they were taken
  • Critique / discuss
  • Photograph / save the projection of the map with the images on – you could print at 12×16 for each participant.
Mads Gamdrup (2002) from Renunciation