Main menu
As I approach the end of this project, I decided to finally create an important front-end screen that no UI redesign would be complete without: the main menu. Main menus are a vital part of any game, as they have the opportunity to create a strong first impression with the player, and skilful design can help to effectively represent the atmosphere of the game as a whole.
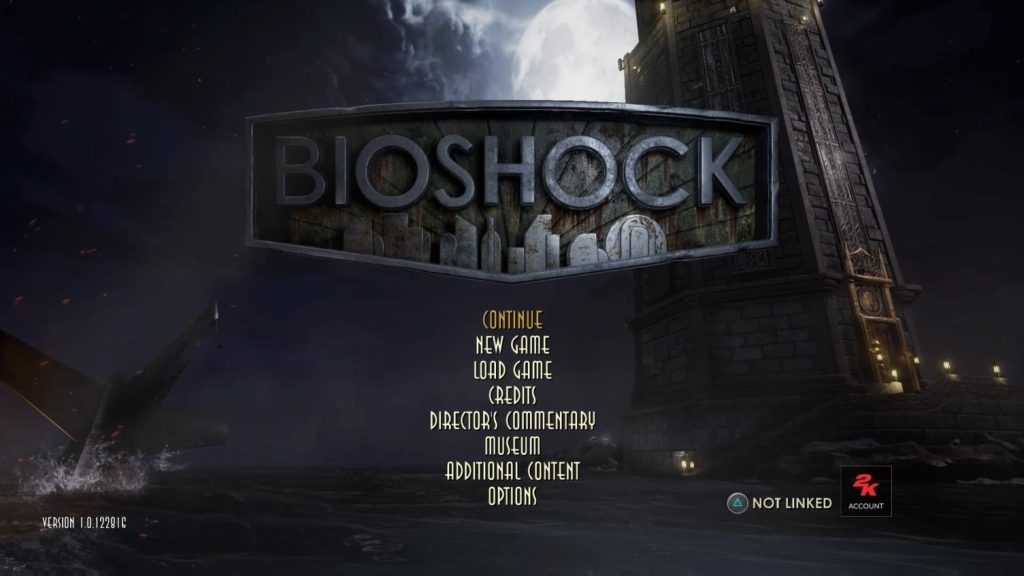
The original BioShock has a nicely presented main menu screen, with the game’s logo taking centre-stage, drawing the player’s eye and appropriately reflecting the nautical aesthetic of an underwater city (fig. 1). Buttons are arranged vertically below it, and the backdrop shows the game’s iconic lighthouse above water, creating a feeling of anticipation for the eventual descent. For my redesign, I wanted to present the logo in a manner that is minimal, while still reflective of the lavish Art Deco aesthetic. I also wanted to better convey the buttons as interactable objects and employ grouping in their arrangement
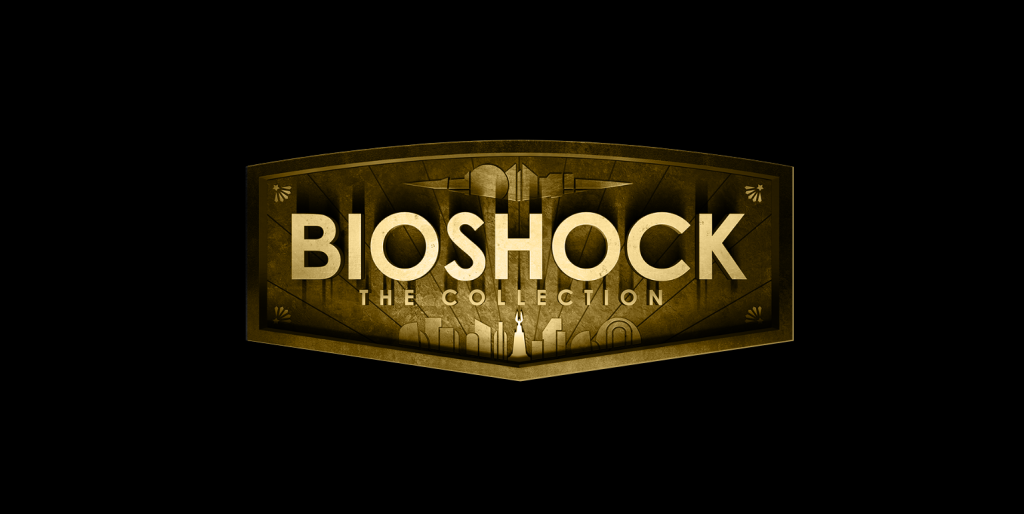
I started by tackling the game’s logo. To make mine look flatter, I started by drawing over the original’s, using the pen tool to draw simple linework that represents the various structures. I then wrote the title of the game in large, boldface lettering, occupying the centre of the logo (fig. 2). While there were elements that I like about this revised logo, I felt that the whole thing looked markedly worse than the existing one. It felt like a weak first impression for the player, while the original does such a good job at setting the tone. This led me to take a PNG of the logo and simply add a gold colour grading to it, to make it look appear more harmonious with the colours of the rest of my design (fig. 3). This instantly looked much better than my previous attempt and I am much happier with this direction.

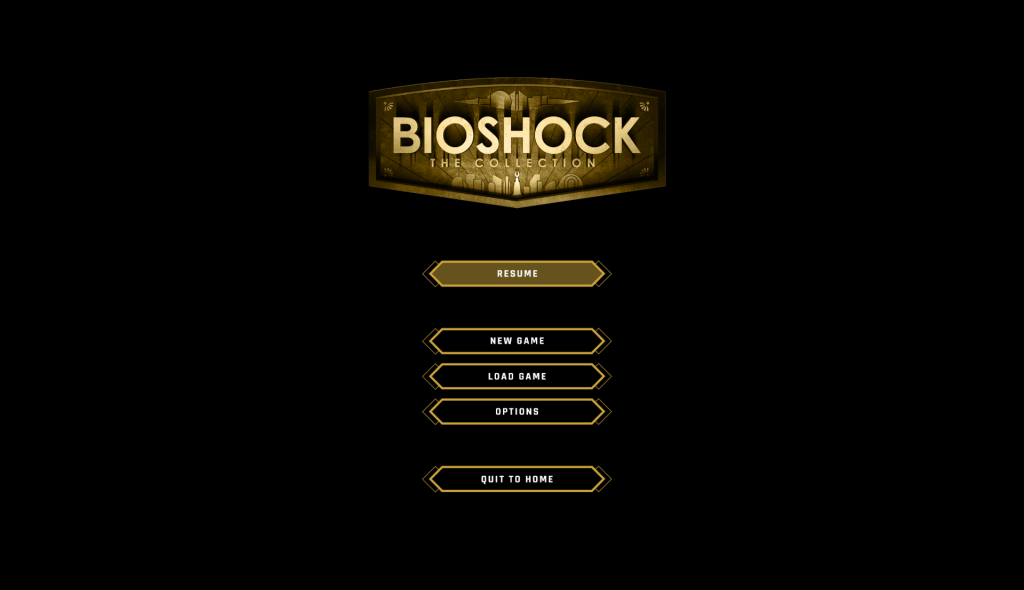
Next, I created the buttons. These did not take very long as they are essentially the same appearance as those seen in the previously created pause menu. I created buttons for ‘Resume’, ‘New Game’, ‘Load Game’, ‘Options’, and ‘Quit Game’, grouping them based on utility. These were placed under the logo, which I resized and positioned nearer the top of the screen (fig. 4).
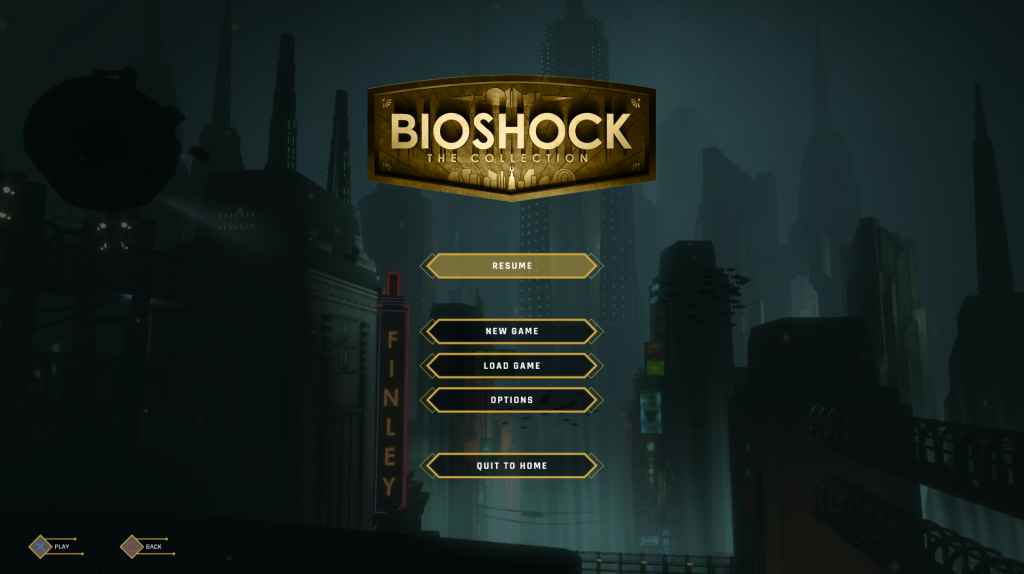
Finally, I added in button prompts in the bottom-left and placed a background (fig. 5). Much like the rest of my screens, the background was darkened for better readability.
Prototyping
With the main menu finished, I now had fifteen completed UI screens. I am happy with this as a final number, as many of the projects I have researched seem to favour quality over quantity. While I could rush to attempt other designs, I feel that the screens I have currently make for a focused, coherent project when viewed together. This also gave me more time to embark on an important element of the project: prototyping.
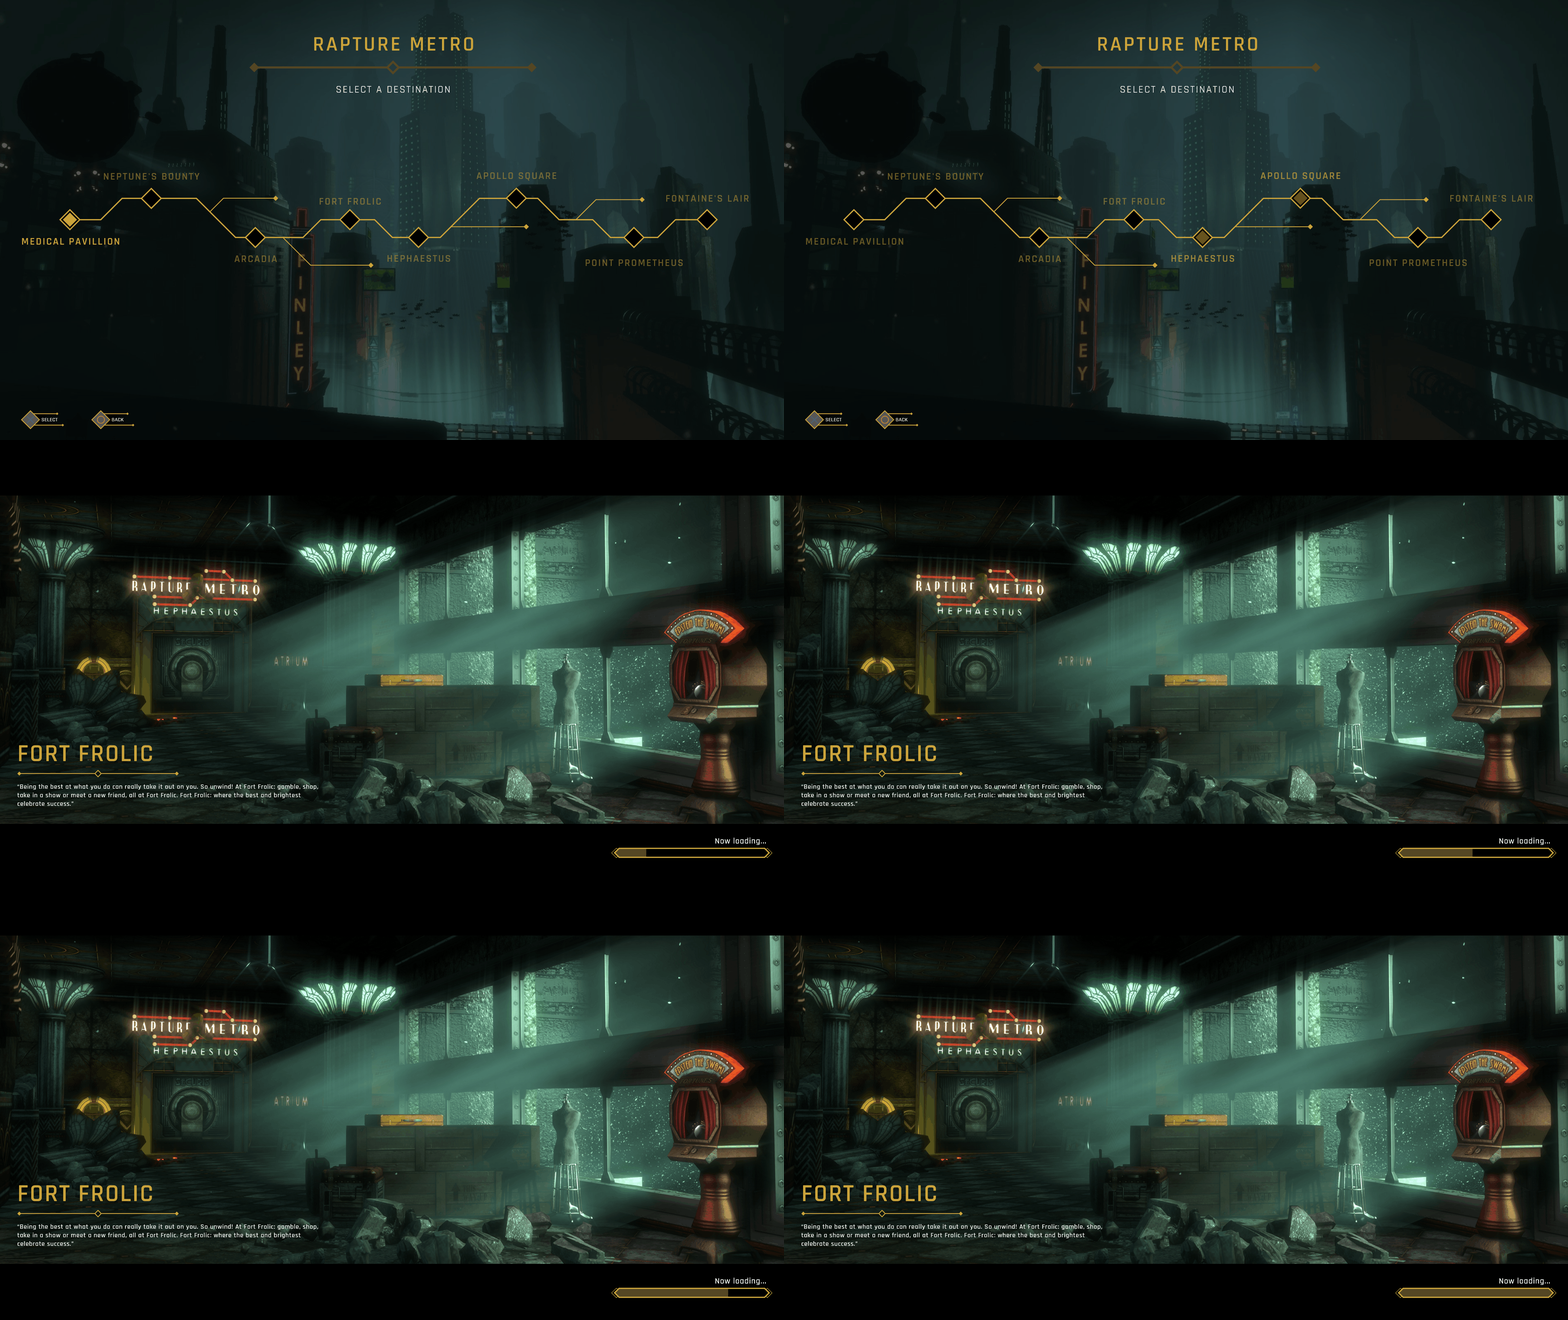
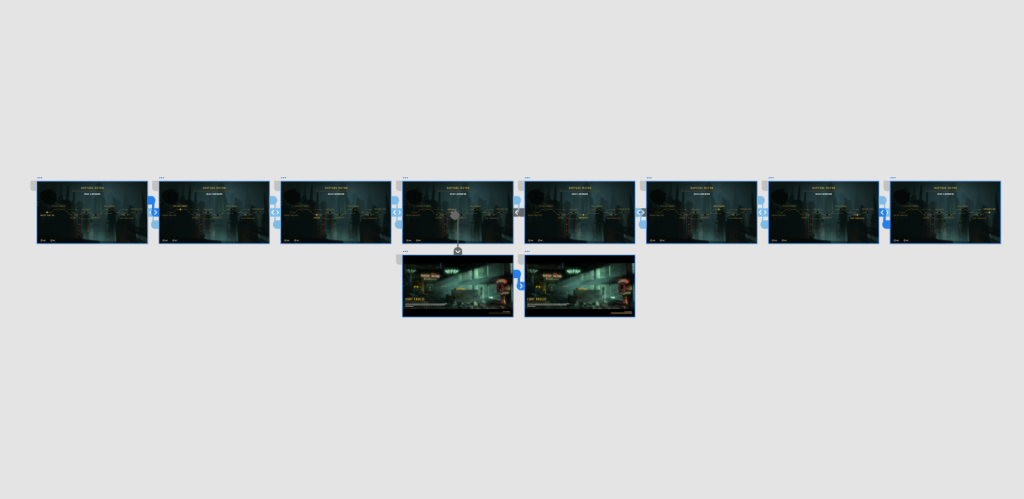
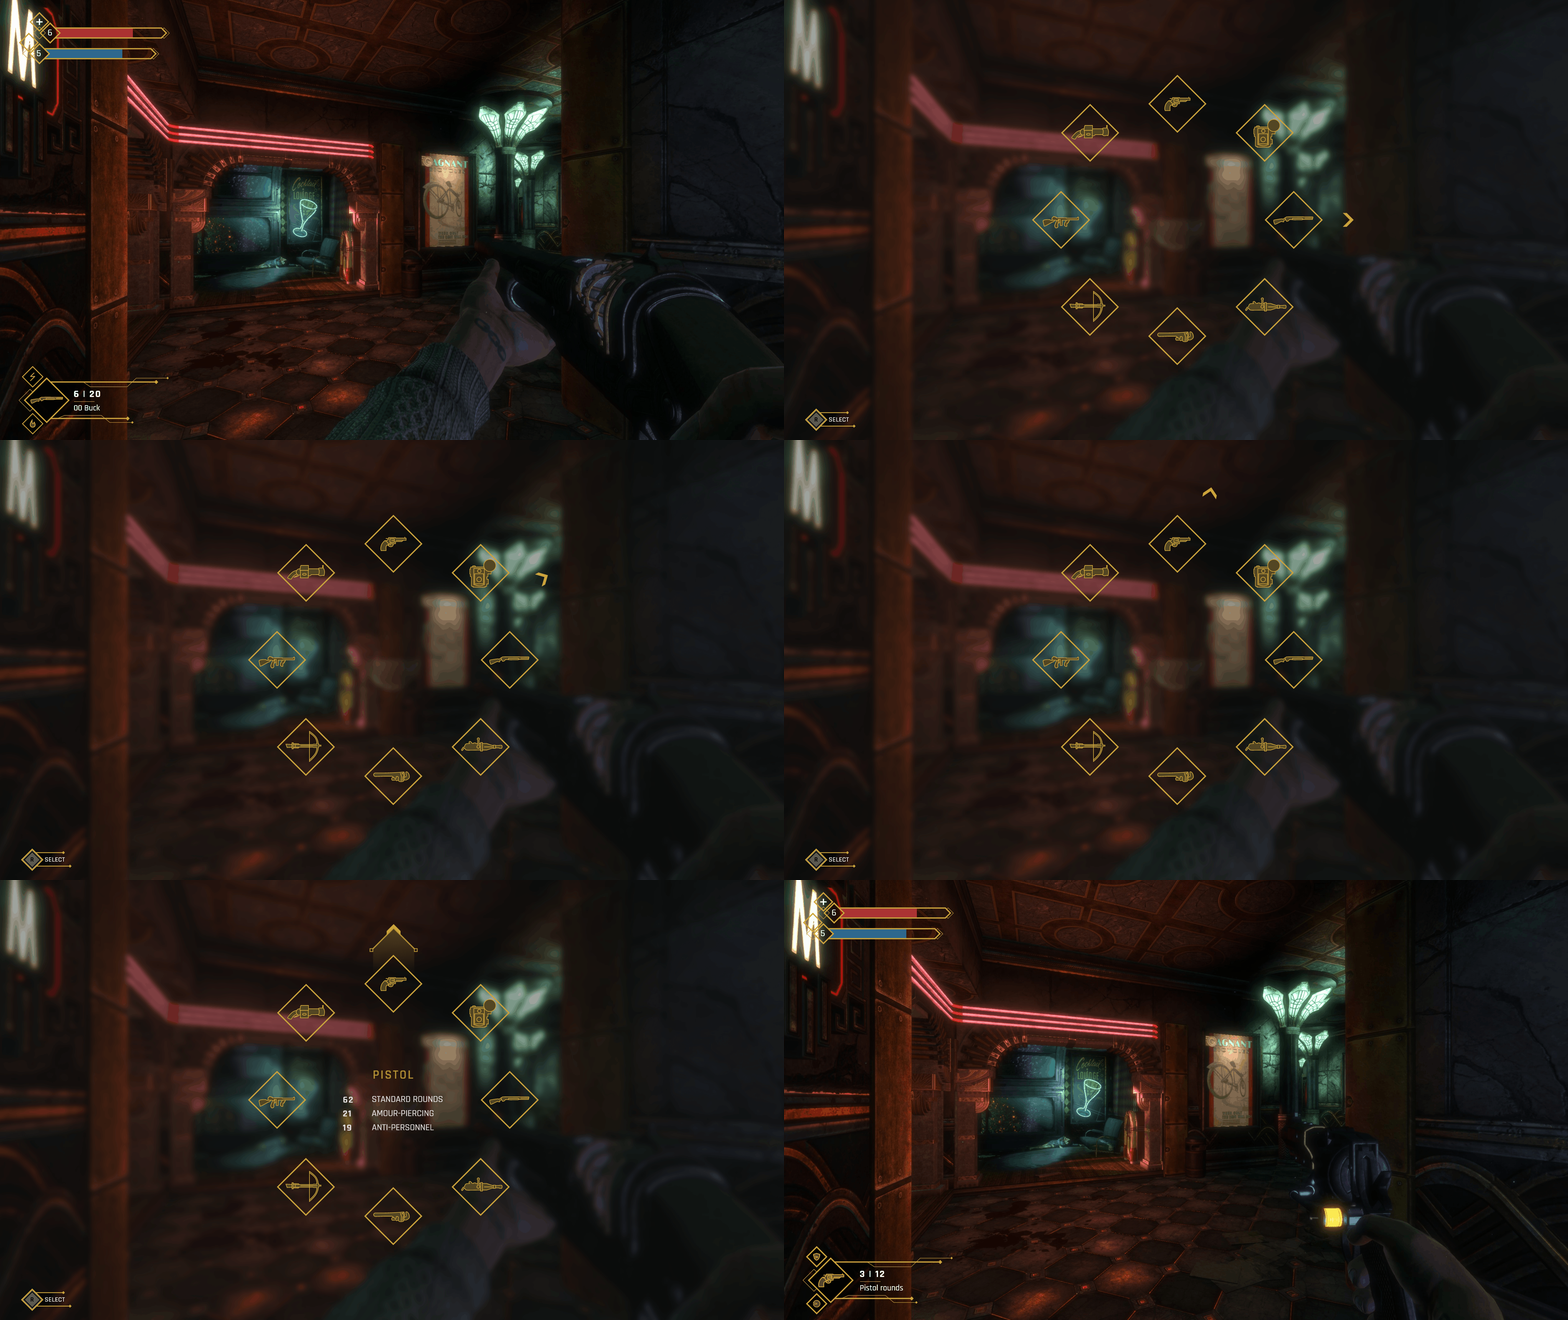
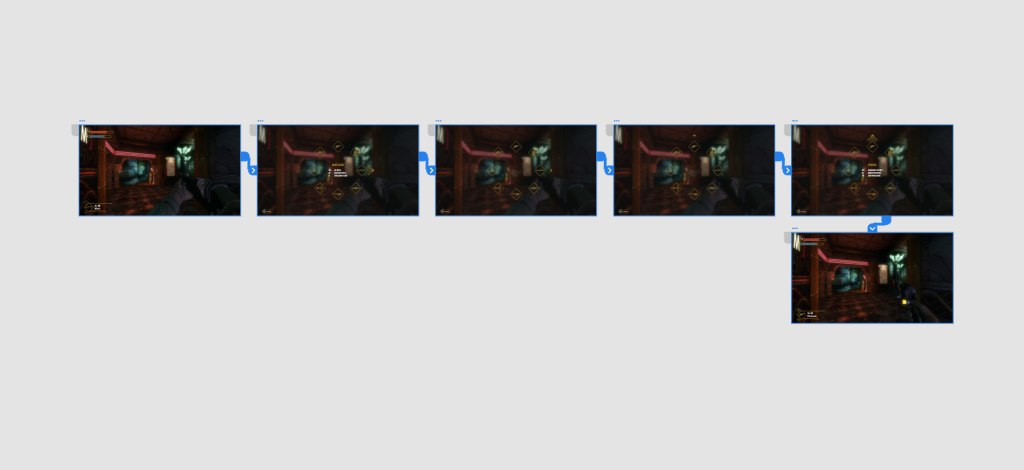
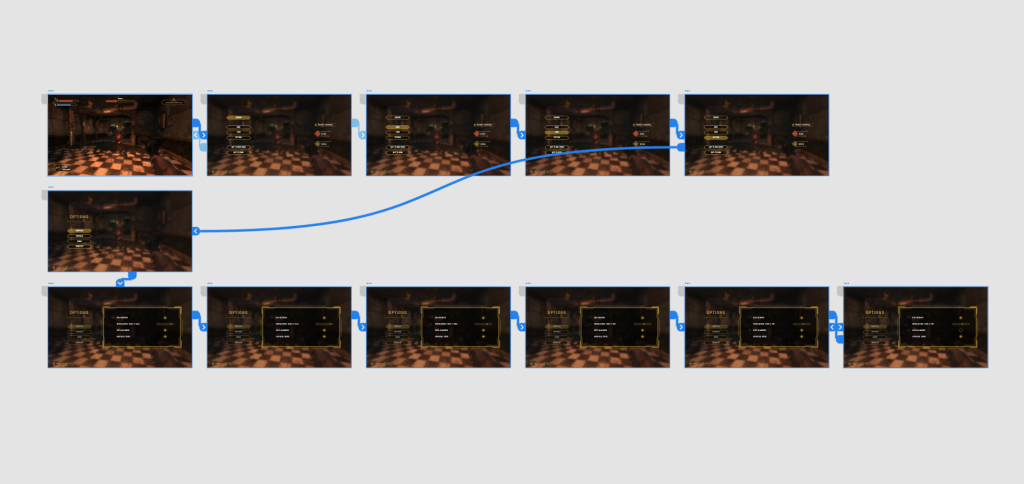
Adobe XD’s prototype tools allow for designers to create animated wireframes that can effectively represent the flow of UI navigation. In order to better illustrate how my UI designs would function in-game, I took advantage of this tool to create interactive, animated versions of my wireframes. I was even able to make it so that transitions were handled by controller inputs (fig. 6), which meant that users can essentially navigate through the UI using a console controller.

Creating these prototypes was a fun challenge, and I enjoyed experimenting with different animations speeds and easing’s to create the best user experience. Seeing my designs come to life through this level of interaction is a great joy, and makes them seem even more believable as in-game UI. See below for some of the finished animations, and the ‘flow’ (visual scripting) that makes them work.

Research
This week, I watched an excellent talk on using UI to reflect the aesthetics, culture, and visual rules of the fictitious world a game is set in (Chow 2018). The lecturer makes the resonant statement that “UI is an opportunity to reflect your games world and strengthen your game’s visual branding through narrative, graphics and usability” (Chow 2018). This is certainly something that I have been aiming to do with this current redesign project; using UI as an opportunity to reinforce the once decadent, lavish world of Rapture.
Chow goes on to explain the three phases of creating immersive UI: research, exploration, and iteration. All three of these are shown to be crucial to the development process. UI designers must take the time to research the world that the game exhibits, seeking visual influences, patterns, and textures that can be adopted into the UI. They must then allow time for exploration of different UI screens, creating a variety of wireframes that utilise different approaches (skeuomorphic vs flat, diegetic vs non-diegetic etc.) in order to understand what works and what doesn’t. Once a certain style has been landed on, iteration is crucial as designers refine elements such as readability, personality, and layout in pursuit of accessible UI.
References
BioShock. 2007. Irrational Games, 2K Games.
CHOW, Steph. 2018. Immersing a Creative World into a Usable UI [GDC talk]. Available at: https://www.youtube.com/watch?v=ONYmBBZiBj8 [accessed 25 November 2022].